Cascade 220 Superwash from The Tangled Ball in Edgewater, CO.
Sometimes when inspiration strikes it’s not this grand idea but rather something like “I like these colors. What can I do with it?”
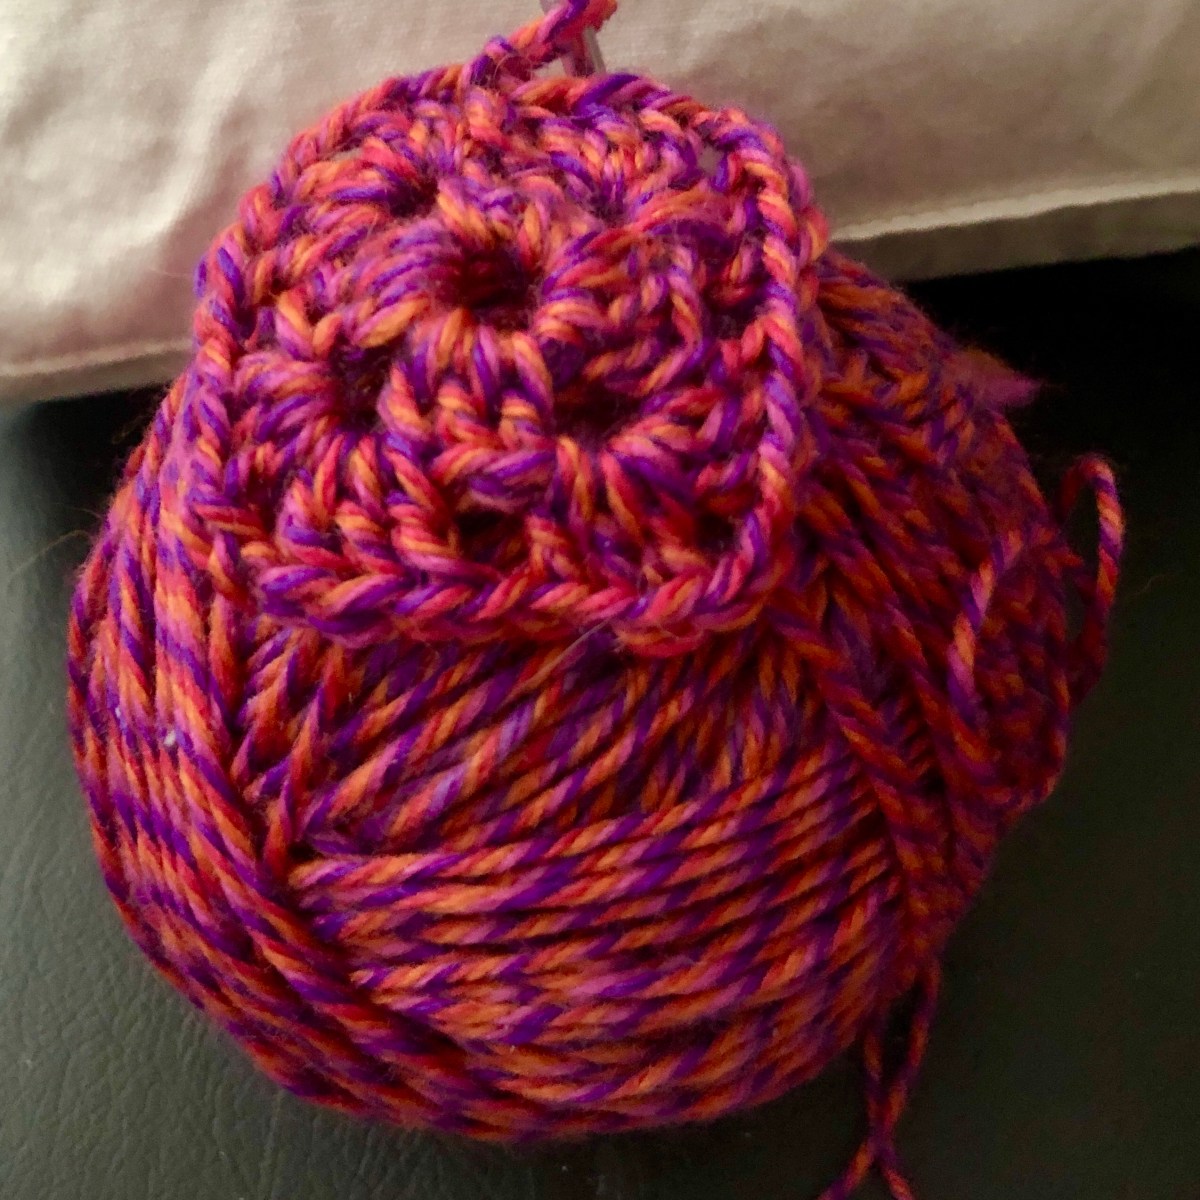
Yesterday after meeting a friend for lunch, we wandered into the local yarn store (LYS for all you yarnies out there). I keep seeing this color combo with bright pink and orange that I really want to make some drawings with but have been struggling with the exact colors. When I came across this colorway of Cascade 220 superwash that was a blend of bright pink and orange as well as some other colors, I started carrying it around like it was “my precious”.
There were some great projects for inspiration at the store but after talking with the store owner and my friend, I realized I just wanted the comfort of making the humble crocheted granny square. There is a whole stack of granny squares that I started but abandoned sitting on my bookshelf as a decoration. I decided maybe this is the time to finish up that project. It’s a chance to appreciate my new yarn and use up the random ends and balls of yarn that I have that are the same weight and fiber. As it’s a light worsted superwash, wow do I have a bunch of that! Not enough to make a project of one color but plenty of lovely colors to make a crazy blanket.
Stay tuned for how this turns out! Hopefully I’ll have an update soon rather than just a bigger stack of granny squares “decorating” my bookshelf!
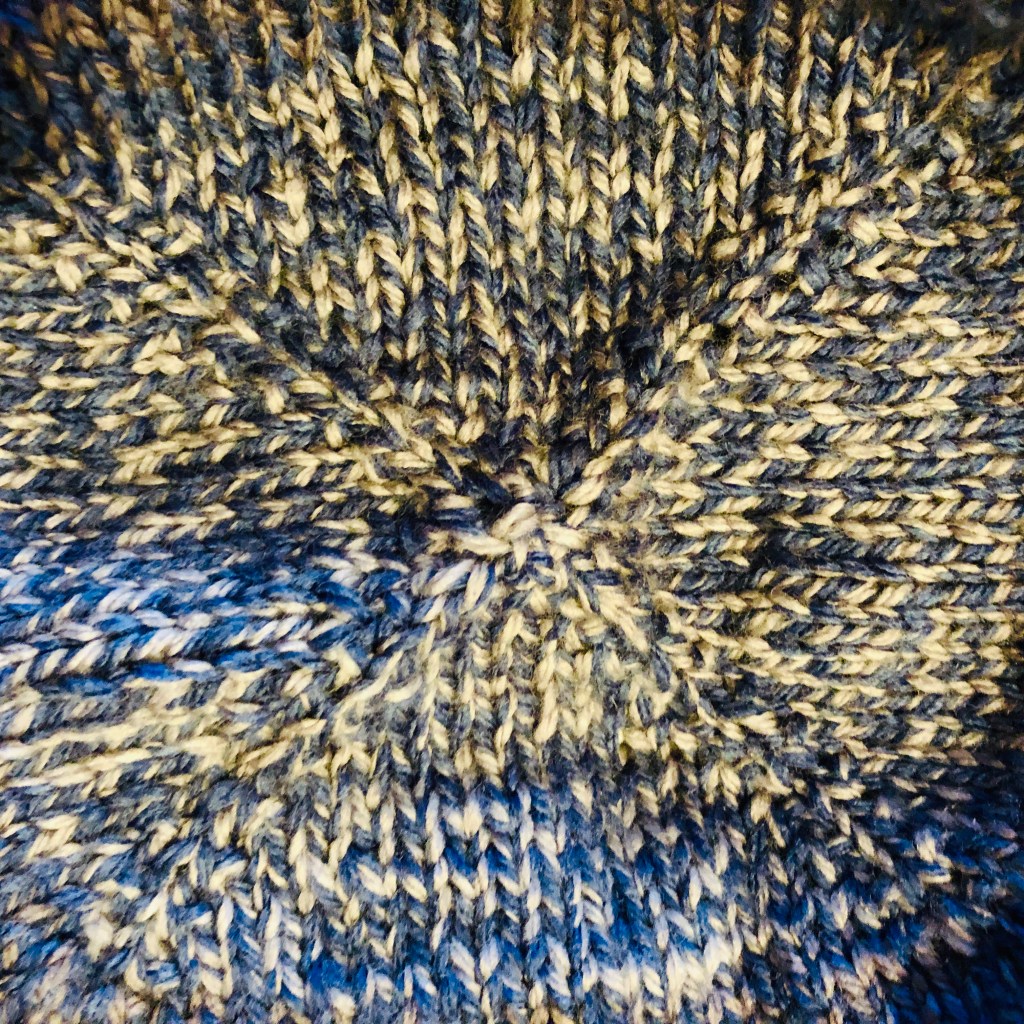
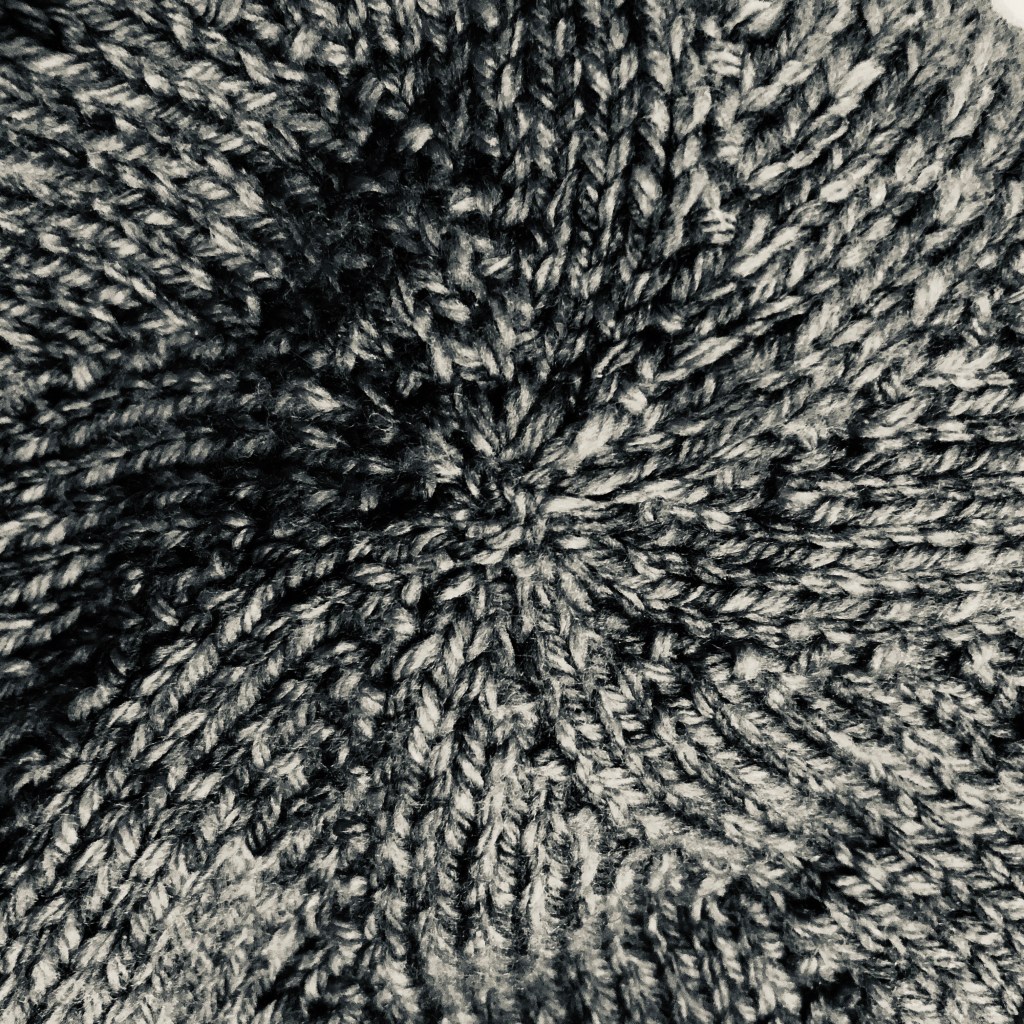
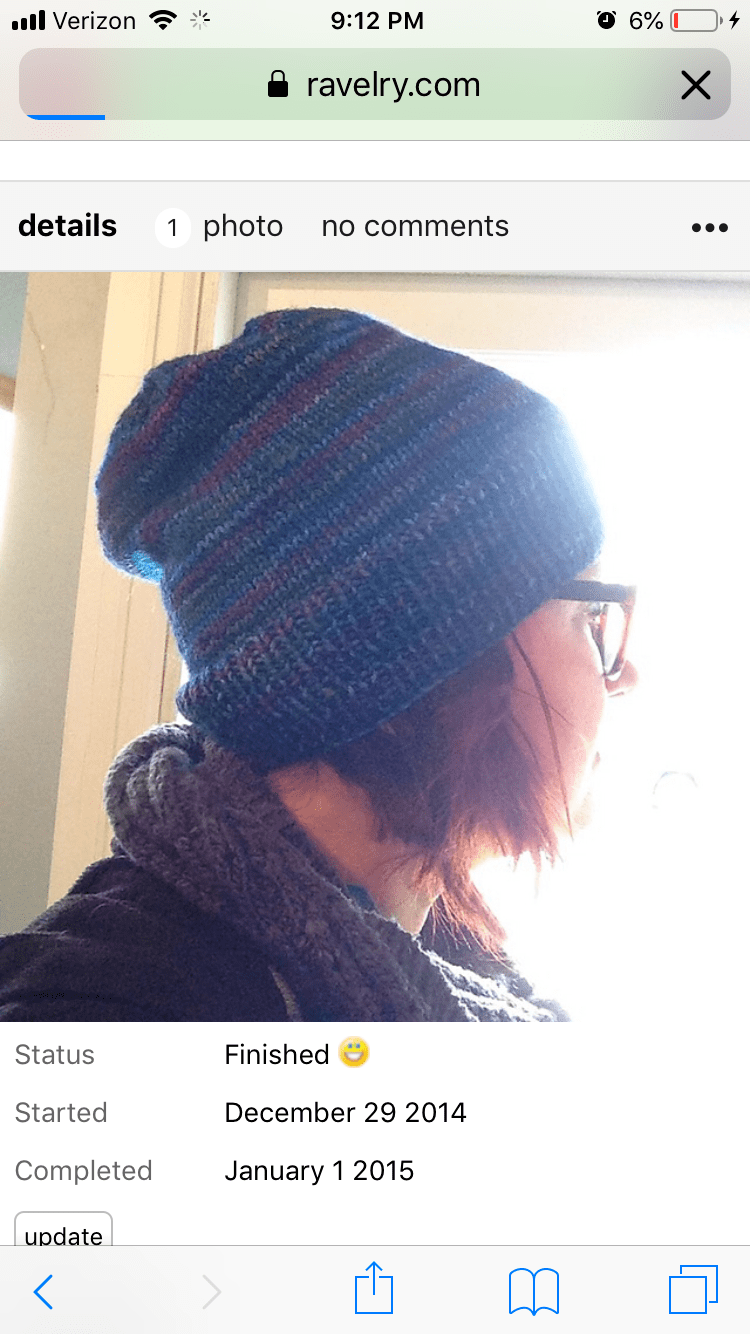
People that I knit with know I love knitting hats. While I have a deep appreciation of bigger projects and a decent skill set when it comes to knit and crochet, I have a short attention span. I like being able to knit up something quickly. My go-to lately is top-down hats. While a common construction in crochet, most knit hats are created from the brim up. I’ve come across a few knitted hat patterns that are top down but they’re more of a novelty.
Following the same recipe used by crocheters, you can make a top down knitted hat. Starting with 8 stitches in a ring, you continue by increasing 8 stitches every other row until you come to a diameter that is about a third of your desired circumference. It starts a little fiddly and I employ some tricks for placing my increases but once the increase is done, it’s smooth sailing and you’re on your way to a new hat!
The two needle choices I’ve been using to get started are either double points or magic loop. You’ll start by casting on 8 stitches and joining in the round. If you’re using double points, I would start with three needles – a working needle and two other needles with 4 stitches each. For your next round, you’ll knit every stitch. The round after will be doubling the stitches from 8 to 16. I kfb (knit front and back) every stitch to create the increases but if there’s another increase you like, go for it!
Now that you’re at 16 stitches, you’ll knit every stitch for the next round and then choose how you’ll place your increases. Unless you’re wanting to try out some specific sculptural shape (like an elf hat that droops to one side), you’ll want to have your increases evenly spaced. To do this, I’ve either placed markers ever 2 stitches splitting the stitches into 8 sections or if using double points I’ve split my stitches onto 4 needles with a fifth needle for working the stitches (alternatively, you could place markers splitting the stitches into four even sections and doing the increases as I do on dpns).
From here, you’ll continue alternating an increase row with a straight row until you’ve reached your desired size (a diameter 1/3 of the desired circumference). When I split my stitches into 8 sections, I simply make an increase either right before or after the stitch marker. Kfb is in my opinion the easiest way to increase but a yarn-over for a slightly lacy effect or a make one picking up the yarn between the stitches below and creating either a left-leaning or right-leaning increase is another option. When knitting in double points I kfb at the first and last stitch of every needle.
It’s up to you what you want to do for the body of the hat. Stockinette (knitting every stitch) is of course the easiest but if you want to add in a stitch pattern, anything in multiples of 2s, 4s or 8s should work. Just be mindful that some stitch patterns – cables for example – may tighten up the hat and make it a little snug or possibly too small. You can counter that by continuing to increase until the diameter is slightly larger than desired. Striping and colorwork are also options if you’re so inclined. For colorwork, just remember to adjust so that your design is not upside down.
Once the hat is getting close to your desired length, you’ll switch to a stitch pattern for the brim. I like a ribbed brim and usually do 1×1 or 2×2 but as with the rest of this hat recipe that decision is up to you.
Once you’ve reached your desired length, it’s time to bind off. I usually bind off in stitch pattern but again, it’s up to you. Just make sure that your bind off is loose. You can either consciously make an effort to make the stitches loose or choose to use a working needle (the needle in your right hand for most people) a size or two larger than what you’ve been using. As the needle will only have a stitch or two on it at a time, it doesn’t matter if the needle is straight, circular or double pointed.
Weave in your ends and you have a hat that’s ready to wear! Of course, if you like a pompom do add one.
How much of our lives is spent doing the same thing over and over? Wake up, eat breakfast, brush your teeth, yada yada. The same can be said of our creative practices. How many of us get in the routine or habit of doing things the same way – even after it no longer fits or works as well as it once did?
When I had a yarn store, I would churn out patterns. They were usually simple, beginner level and I would just give them away to sell yarn. Well, I don’t have a yarn store anymore, and it has been over three years since it has closed. I’m still knitting and making my own designs here and there but haven’t been publishing them or giving them away like I did when I had the store. It’s something I miss. For my birthday weekend, I threw together 4 of my old patterns and put them in an eBook. While doing that I came across patterns I never published and ones that I did that could use better pictures and therefore new samples. So, I guess I have my knitting work cut out for me this fall! Be on the lookout for some new patterns and revisions of the old ones!
Thanks as always for your support in my creative adventures!